How to install a Pcb Pluggable Terminal Block?
Jul 03, 2025
Hey there! As a supplier of PCB Pluggable Terminal Blocks, I'm stoked to share with you a step - by - step guide on how to install these nifty little components. Whether you're a DIY enthusiast or a professional in the electronics field, this guide will help you get the job done right.
First off, let's talk about why PCB Pluggable Terminal Blocks are so great. They offer a convenient way to connect wires to a printed circuit board. Instead of soldering, which can be time - consuming and requires some skill, you can simply plug in the wires. This makes installation faster, and it also allows for easy maintenance and modification in the future.
What You'll Need
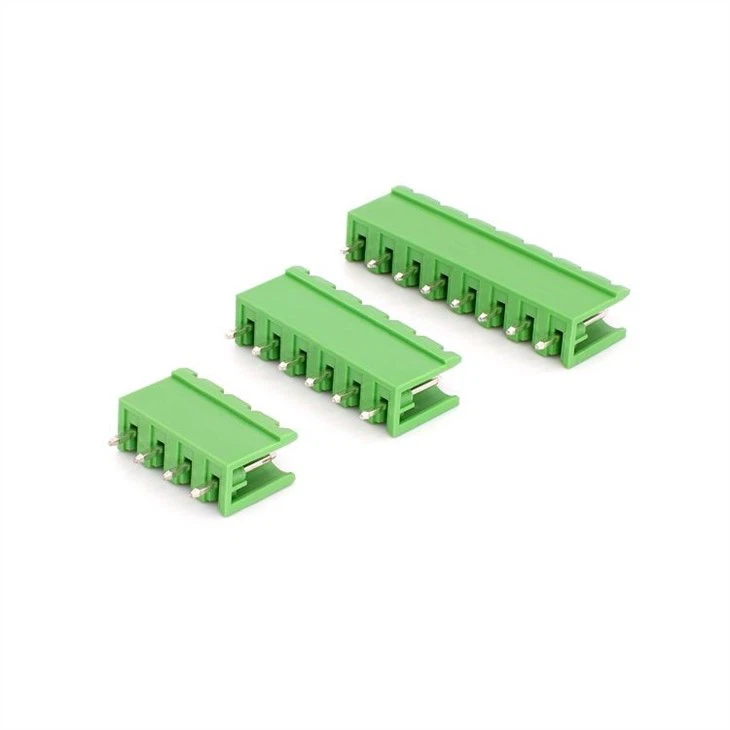
Before you start the installation process, gather the necessary tools and materials. You'll need a PCB Pluggable Terminal Block, of course. We offer a wide range of options, like the 2 - 24 Pins PCB Pluggable Connector, which is great for various applications where different pin counts are required. You'll also need a soldering iron (if your terminal block needs to be soldered to the PCB), wire strippers, and the appropriate wires. Make sure the wires are the right gauge for your terminal block.
Step 1: Prepare the PCB
The first thing you need to do is prepare the printed circuit board. Check the PCB layout to make sure you know exactly where the terminal block will be installed. Clean the area on the PCB where the terminal block will sit. Any dirt, dust, or debris can interfere with the connection. You can use a mild solvent and a soft brush to clean the surface gently. Let it dry completely before proceeding.
Step 2: Position the Terminal Block
Carefully place the PCB Pluggable Terminal Block on the designated area of the PCB. Make sure it's aligned correctly. Most terminal blocks have holes that match the pads on the PCB. Double - check the orientation. If it's not placed correctly, it won't work properly, and you might damage the terminal block or the PCB when you try to connect the wires.
Step 3: Solder the Terminal Block (if required)
If your terminal block needs to be soldered to the PCB, this is the next step. Heat up your soldering iron to the appropriate temperature. Usually, a temperature between 350°C and 400°C works well for most soldering jobs. Take a small amount of solder and apply it to the tip of the soldering iron. Then, touch the soldering iron to the joint between the terminal block's pin and the PCB pad. Feed a little more solder into the joint until a nice, shiny solder connection is formed. Do this for all the pins on the terminal block. Be careful not to over - solder, as this can cause short circuits.
Step 4: Strip the Wires
Now it's time to prepare the wires. Use your wire strippers to remove about 1/4 to 1/2 inch of insulation from the end of each wire. Make sure the exposed wire is clean and straight. You can twist the strands of the wire gently to keep them together.
Step 5: Insert the Wires
Take the stripped end of each wire and insert it into the appropriate terminal of the PCB Pluggable Terminal Block. Some terminal blocks have a screw - down mechanism. If that's the case, loosen the screw, insert the wire, and then tighten the screw to secure the wire in place. Other terminal blocks might be screw - free, like the 5.00mm Pitch Euro Block Connector PCB Terminal, which use a spring - loaded mechanism. Just push the wire into the terminal, and the spring will hold it securely.
Step 6: Check the Connections
Once all the wires are inserted, give them a gentle tug to make sure they're firmly connected. Check for any loose connections or wires that might be touching each other when they shouldn't be. A loose connection can cause intermittent problems or even a complete failure of the circuit.
Step 7: Test the Installation
After you've completed the installation, it's a good idea to test the connections. You can use a multimeter to check for continuity between the wires and the corresponding points on the PCB. If everything checks out, you're good to go!
Troubleshooting
Sometimes, things don't go as smoothly as planned. If you're having trouble with the soldering, make sure your soldering iron is at the right temperature. If the solder isn't flowing properly, it might be too cold. If it's burning the wires or the PCB, it's too hot.
If the wires aren't staying in the terminal block, check if the wire gauge is correct. Using a wire that's too thick or too thin can cause problems. Also, make sure you're tightening the screws (if applicable) enough.

Benefits of Our Terminal Blocks
Our terminal blocks, like the Universal Pluggable PCB Connector, offer a lot of advantages. They're made from high - quality materials, so they're durable and reliable. They're also designed for easy installation, which saves you time and effort. Plus, we offer a wide range of options, so you can find the perfect terminal block for your specific needs.
Why Choose Us
As a supplier, we're committed to providing top - notch products and excellent customer service. We understand that every project is different, and we're here to help you find the right PCB Pluggable Terminal Block. Whether you need a small quantity for a hobby project or a large order for a commercial application, we've got you covered.
Contact Us for Purchasing
If you're interested in purchasing our PCB Pluggable Terminal Blocks, we'd love to hear from you. We can offer competitive prices and fast delivery. Just reach out to us, and our sales team will be happy to assist you with your order. We can also provide technical support if you have any questions about installation or usage. So, don't hesitate to get in touch and start working with high - quality terminal blocks for your next project.
References
- Electronics Installation Handbook: Covers general guidelines for installing electronic components on PCBs.
- Terminal Block Manufacturer's Manuals: Provide specific instructions and details about their products.