How to adjust the position of a Din Rail Housing Enclosure on the din rail?
Aug 04, 2025
Hey there! As a supplier of Din Rail Housing Enclosures, I often get asked about how to adjust the position of these enclosures on the din rail. It might seem like a tricky task at first, but with the right know - how, it's actually a breeze. So, let's dive right in and learn how to do it step by step.
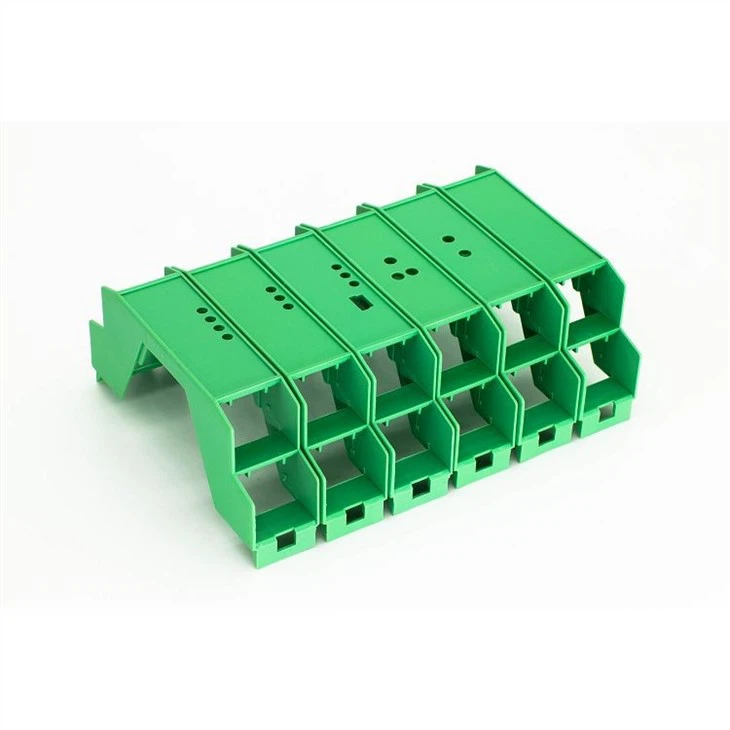
First things first, you need to understand what a Din Rail Housing Enclosure is. These enclosures are designed to house various electrical components like circuit breakers, relays, and other devices. They're mounted on a din rail, which is a standardized metal rail used in electrical installations. There are different types of enclosures, such as the Signal Isolation Box, Electrical Terminal Block Connector Enclosure Housing, and Din Rail PCB Enclosure. Each type has its own specific features and uses, but the process of adjusting their position on the din rail is quite similar.
Tools You'll Need
Before you start adjusting the position of the Din Rail Housing Enclosure, gather the necessary tools. You'll typically need a flat - head or Phillips - head screwdriver, depending on the type of screws used in your enclosure. Sometimes, you might also need a pair of pliers, especially if you have to deal with any stubborn clips or fasteners. Make sure your tools are in good condition, as using a worn - out screwdriver can damage the screws and make the adjustment process much more difficult.
Step 1: Safety First
Safety should always be your top priority when working with electrical equipment. Before you start adjusting the enclosure, turn off the power supply to the circuit. This will prevent any electrical shocks or short - circuits. You can do this by switching off the circuit breaker associated with the din rail installation. Once you've turned off the power, use a voltage tester to double - check that there's no electrical current flowing.
Step 2: Inspect the Enclosure and the Rail
Take a good look at the Din Rail Housing Enclosure and the din rail itself. Check for any signs of damage, such as cracks in the enclosure or bent parts on the rail. If you notice any damage, it's best to replace the damaged components before proceeding. A damaged enclosure or rail can affect the stability and performance of the electrical components inside. Also, make sure the din rail is properly mounted and secure. It should be firmly attached to the mounting surface, and there should be no loose connections.
Step 3: Loosen the Fasteners
Most Din Rail Housing Enclosures are attached to the din rail using screws or clips. If your enclosure is secured with screws, use the appropriate screwdriver to loosen them. Don't remove the screws completely; just loosen them enough so that the enclosure can be moved along the rail. If your enclosure uses clips, you might need to use pliers to gently release the clips. Be careful not to apply too much force, as you don't want to break the clips.
Step 4: Move the Enclosure
Once the fasteners are loosened, you can start moving the Din Rail Housing Enclosure along the din rail. Gently slide the enclosure to the desired position. Make sure to align it properly with the other components on the rail. You might need to make some small adjustments to ensure that the enclosure is straight and level. If you're moving multiple enclosures, take your time to arrange them in an organized manner. This will make it easier to access and maintain the electrical components in the future.
Step 5: Tighten the Fasteners
After you've positioned the enclosure correctly, it's time to tighten the fasteners again. Use the screwdriver to tighten the screws firmly, but don't over - tighten them. Over - tightening can damage the enclosure or the rail. If you're using clips, make sure they're securely attached to the rail. Check that the enclosure is stable and doesn't move around when you gently shake it.

Step 6: Final Checks
Once you've tightened the fasteners, do a final inspection. Check that the enclosure is properly aligned and that all the electrical connections are secure. Turn the power supply back on and test the electrical components inside the enclosure to make sure they're working properly. If you notice any issues, such as a component not functioning or a strange noise, turn off the power immediately and re - check your work.
Tips for a Smooth Adjustment
- Plan Ahead: Before you start adjusting the position of the enclosure, think about where you want to place it. Consider the space requirements of the other components on the rail and how easy it will be to access the enclosure in the future.
- Label Everything: If you have multiple enclosures on the din rail, label them to make it easier to identify and locate specific components. This can save you a lot of time when you need to make adjustments or perform maintenance.
- Keep Spares on Hand: It's a good idea to keep some spare screws, clips, and other fasteners on hand. This way, if you lose or damage a fastener during the adjustment process, you can easily replace it.
Conclusion
Adjusting the position of a Din Rail Housing Enclosure on the din rail isn't as complicated as it might seem. By following these steps and taking the necessary safety precautions, you can do it quickly and easily. Whether you're a professional electrician or a DIY enthusiast, knowing how to adjust these enclosures is a valuable skill.
If you're in the market for high - quality Din Rail Housing Enclosures, we're here to help. We offer a wide range of enclosures, including the Signal Isolation Box, Electrical Terminal Block Connector Enclosure Housing, and Din Rail PCB Enclosure. If you have any questions or are interested in making a purchase, feel free to reach out to us for more information and to start a procurement discussion.
References
- Electrical Installation Handbook, Schneider Electric
- DIN Rail Mounting Systems Guide, Phoenix Contact